One of my favorite things to do are STEM activities and ocean science experiments! I love seeing the reaction on a child’s face when they see science work before their eyes.
A lot of science experiments take a long time, but not the hot and cold water density experiment!
In this temperature density experiment, kids will experience water density, color mixing, molecule science, and a whole lot more with just one experiment that takes less than 10 minutes to complete.
Try it out at home or in the classroom!

Hot and Cold Water Density Experiment
If you love doing quick science experiments that wow, try this amazing hot and cold water experiment.
Kids will ask to do this one over and over again!
Why STEM Activities are Important for Kids
Today, science experiments for kids are more important than ever. Science and technology are huge parts of our world today, and the future will be even more science and tech-focused.
Kids who aren’t immersed in the world of science and STEM exploration from a young age will be left behind their peers, and may struggle to find work in the fast-changing landscape of future careers.
Science experiments are usually basic, but they can help spark a love of science and discovery in a child that will follow them throughout their life.
The simple science experiment that a child does today may spark their desire to discover something that will change the world in the future.
Every day, young children are using science experiments to solve real-world problems in medicine and technology that have never been uncovered before.
And all these scientific discoveries start with a firm foundation in science and STEM.
The Scientific Method for Kids

Every science experiment contains four elements:
A Question
Kids should start every science experiment with a question, even if that question is just “what will happen?”
A Hypothesis
Before doing any experiment, children should record what they believe will happen.
An Experiment
This is where the fun part comes into play. Test the hypothesis to determine if it answers the question fully.
A Recording and Analysis
As the test is completed, record what happened and analyze why.
A Re-test
Try different variables and try a new test to see if the original answer is confirmed or disproved.
Water Density Experiment Explanation
Here is the hot and cold water density experiment explanation.
The hot and cold water science experiment works because of the different density of hot and cold water.
Certain liquids are less dense than others. If you’ve ever made a density jar, it’s easy to see this in action.
But… water has the same density as other water, right? So why does it stay separated?
The secret is in the temperature of the water.

The molecules in hot water move faster than those in cold water. Hot water molecules bounce around and leave gaps. This makes hot water slightly less dense than cold water.
So when you put the cold water on the bottom, the denser cold water stays there.
But when you put the cold water on the top, heat molecules rise. So the colors mix right away.
Because you’re mixing primary colors, they mix into secondary colors when the hot water is on the bottom.
Supplies for the Temperature Density Experimemnt
Here are some essential supplies for the hot and cold water density experiment.
Our Favorite Water Science Kits
Here are some of our favorite water science kits that you can turn into ice science too!
- Water science kit for early elementary
- Water filtration science experiment
- Air and water power science kit
- Clean water science kit
- Water rocket kit
Water Density Experiment Set-Up
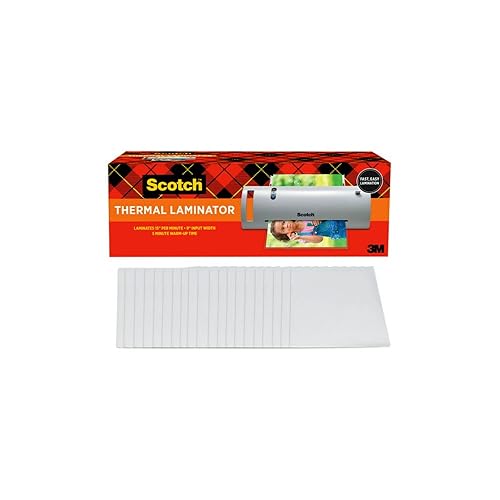
Before starting this experiment, you’ll need to laminate a small card slightly larger than the mouth of your mason jar.

Boil a pot of hot water and fill a large pitcher with ice water.
Fill three jars all the way to the top with ice water.
Fill three more jars up to the top with hot water (but don’t make it so hot that you can’t touch the sides of the jar).
Dye one cold jar yellow, one blue, and one red. Repeat for the hot jars.
More Water Experiments for Kids
- How to Make Water Slime that Looks Just Like Fresh Water!
- Fortnite Slurp Drink Water Density Experiment
- How to Make an Instant Ice Tower
- Milk jug water wheel

How to Do the Water Density Experiment
Learn how hot and cold water have different densities with this hands-on, colorful, and fun water science experiment! It's the perfect "wow" science experiment that gets strong reactions every time!
Materials
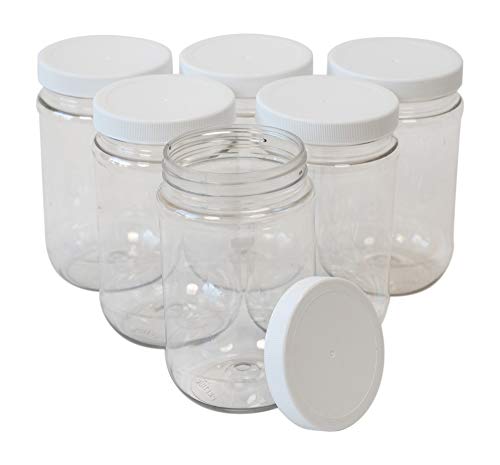
- Plastic mason jars
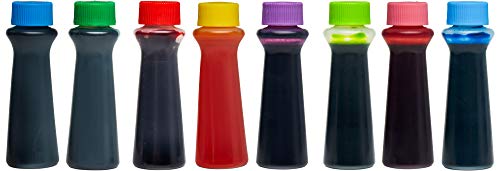
- Food coloring
- Laminator
- Cardstock paper
Tools
- Scissors
- Spoon
Instructions
First, do the experiment with the cold water on the bottom.
- Place the index card over the mouth of the hot water jar. Press slightly to make a seal.
- Flip the jar over and place it on top of the cold water jar (make sure it's a color combo that will make a secondary color).
- Line up the lip of the jars and carefully pull the card out. The water will stay separated!
- Repeat for the other four jars.
- Carefully grip the center of the jars and flip them. They will mix into secondary colors right away!
- Because cold water is denser than hot water, the colors do not mix until gravity pulls the cold water down into the hot water.
Notes
If you don't want the mess risk of flipping the jars, you can simply put the hot water jar on the top and use the index card over the cold water. Then, when you move the card out of the way the colors will mix and you won't have to flip any jars.
Recommended Products
As an Amazon Associate and member of other affiliate programs, I earn from qualifying purchases.


