Even though we’re nearly in back to school mode, it is still incredibly hot and summer-like at our house. We wanted to celebrate with yet another screen-free activity for kids. To celebrate with more ocean science experiments, we made a jellyfish in a bottle science experiment.
We’ve seen these floating (ha) around online for a long time, and we’ve always wanted to try our own version of the jellyfish science project.

Follow the directions below to do the jellyfish in a bottle science experiment.
Scroll to the bottom of the post for more ocean STEM ideas!

How to Do the Jellyfish Experiment
Learn how to make a jellyfish in a bottle using just a plastic baggie!

This discovery bottle was simple to make, and you probably have everything you need to make it right now! This discovery bottle is the perfect way to keep little ones entertained when the bigger kids are working on school or other tasks.
You’ll also want to check out the ultimate list of summer STEM activities and the ultimate list of summer science experiments.
Supplies for the jellyfish in a bottle experiment:
This post contains affiliate links for your convenience.

- Plastic baggie (we used an old gallon-sized zip storage bag)
- Plastic bottle (we used a smart water 1 liter bottle)
- Scissors
- Permanent marker
- Blue liquid watercolor dye
- White yarn or string
Ziploc Sandwich Bags, Easy Open Tabs, 280 CountMcCormick Assorted Food Color, 1 Fl Oz (Pack of 1)
CORE Hydration, 30.4 Fl. Oz (Pack of 12), Nutrient Enhanced Water, Perfect 7.4 Natural pH, Ultra-Purified With Electrolytes and Minerals, Cup Cap For Sharing
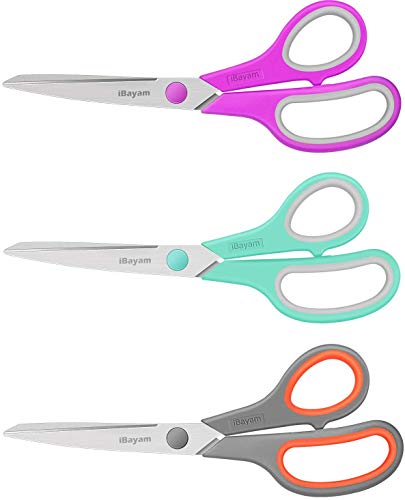
Scissors, 8
The Mason Jar Scientist: 30 Jarring STEAM-Based Projects

Jellyfish Lesson Plan
Click the image below to get the complete ocean science bundle to use for ocean-themed learning!
How to Make a Jellyfish in a Bottle Step by Step

First, cut open the plastic baggie along all sides. You will only need one side of the bag for this project. We used the clear side so our jellyfish wouldn’t have any words on her.
Place your finger in the center of the bag. This will become the jellyfish’s head. The bigger your jellyfish’s head, the more like a jellyfish she will be.
Draw a circle around the center of the bag so you can mark where your jellyfish’s head will go. Tie a piece of string along the marked line.
Cut the bottom of the baggie into little strips. Don’t just cut the plastic into ribbons. Cut off about 2/3rds of the plastic’s bulk, so you are left with eight or so thin strips hanging down.

Reopen your jellyfish’s head and grasp it between two fingers, leaving the bottom open. Fill the jellyfish’s head about halfway with water. Retie the bottom. Hang her upside down so she doesn’t leak while you work on the next part.
Add a couple of drops of blue food coloring to the water. We found that when our water was dark, it was hard to see our jellyfish, so we kept our water light. Fill the bottle with water.

Gently push the jellyfish into the bottle’s opening and arrange her so she’s head up. Screw the lid on the bottle.

If it is done correctly, the jellyfish in your jellyfish discovery bottle will always stay head up. I was hoping she could dive like in our diving fish experiment, but ours didn’t do that. She did float nicely, though!
More Ocean-Themed Activities for Kids
Diving Fish Science Experiment
Shark-Themed Activities for Kids


